Veeva_CLM Boilerplate 소스코드 주소 ↓↓
yohanpro CLM boilerplate
HTML 넣기
putHtml파일은 아래와 같다.
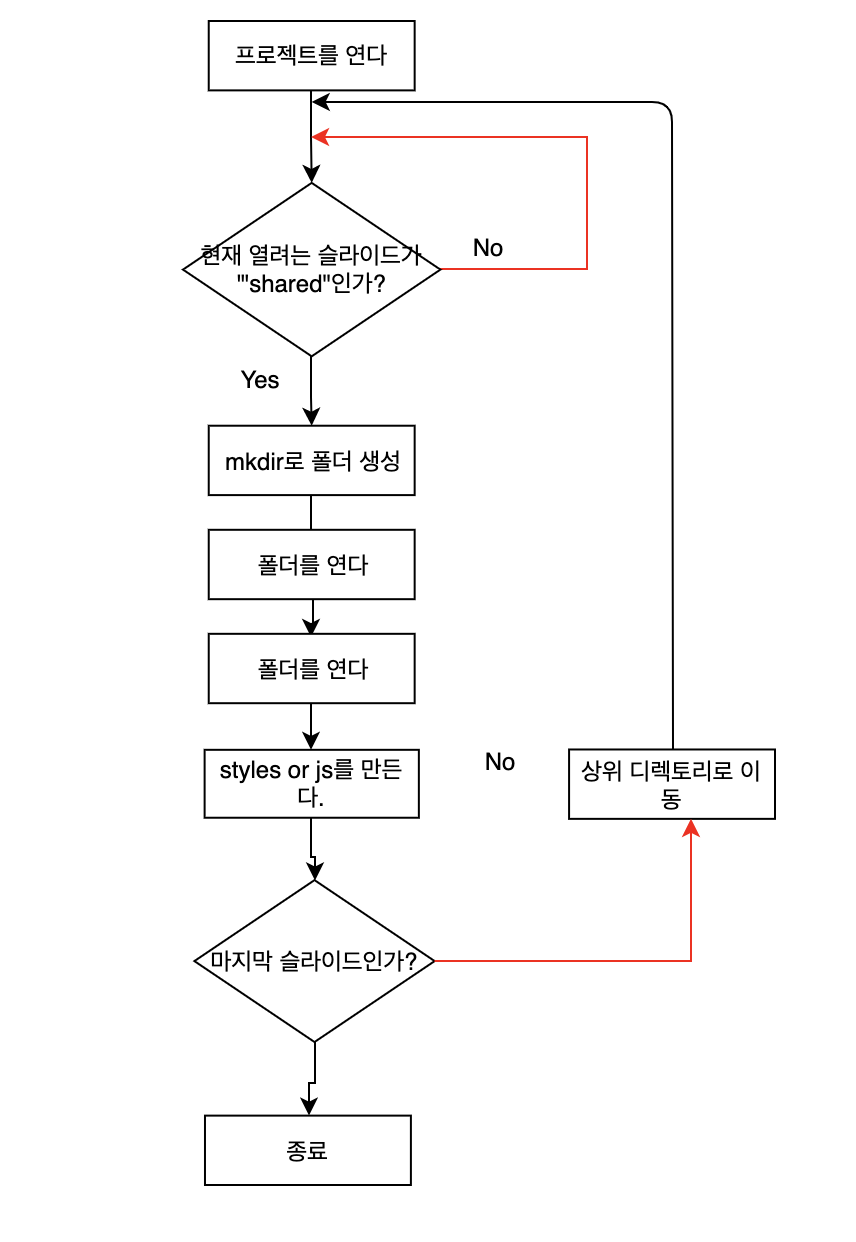
- 프로젝트를 열고
- 만약 shared 폴더가 아니라면
- 슬라이드를 연다.
- makeHtml 함수를 이용해 들어갈 html파일을 받아온다.
- html 파일을
fs.write을 이용해 만들어준다. - 슬라이드 상위 디렉토리로 이동한다. 2~6번을 반복한다.

간단하다.
코드로 나타나면 아래와 같다.
1 2 3 4 5 6 7 8 9 10 | gulp.task("putHtml", () => { shell.cd(presentationDir); shell.ls(presentationDir).forEach(slide => { if (slide !== "shared") { let htmlData = makeHtml(slide); shell.cd(`${presentationDir}/${slide}`); fs.writeFile("index.html", htmlData, "utf8", err => {}); } }); }); | cs |
css, js 생성하기
html을 만드는 것과 거의 비슷하지만 다른 점은 폴더를 생성하고 폴더 안에 빈 styles.css를 넣어줘야 한다는 것이다.
또한 상위 디렉토리로 두번 이동해주어야 한다. cd(../../)

1 2 3 4 5 6 7 8 9 10 11 12 13 14 15 16 17 18 19 20 21 22 23 | gulp.task("putJs", () => { shell.cd(presentationDir); shell.ls(presentationDir).forEach(slide => { if (slide !== "shared") { shell.cd(`${presentationDir}/${slide}`); shell.mkdir("js"); fs.writeFile("local.js", "", "utf8", err => {}); shell.cd("../../"); } }); }); gulp.task("putCss", () => { shell.cd(presentationDir); shell.ls(presentationDir).forEach(slide => { if (slide !== "shared") { shell.cd(`${presentationDir}/${slide}`); shell.mkdir("css"); fs.writeFile("styles.css", "", "utf8", err => {}); shell.cd("../../"); } }); }); | cs |
비동기문제 발생 !
shelljs는 기본적으로 동기로 진행되지만, fs.writeFile은 비동기로 진행되는게 문제였다.
그래서 폴더를 만들고 파일을 안에 넣기도 전에 cd(..)로 빠져나가버리는 경우가 생겼다.
그래서 고심끝에 setTimeout으로 상위디렉토리로 빠져나가는 시간을 0.001초 늦추었다.
1 2 3 4 5 6 7 8 9 10 11 12 13 | gulp.task("putJs", () => { shell.cd(presentationDir); shell.ls(presentationDir).forEach(slide => { if (slide !== "shared") { shell.cd(`${presentationDir}/${slide}`); shell.mkdir("js"); fs.writeFile("local.js", "", "utf8", err => {}); setTimeout(() => { shell.cd("../../"); }, 10); } }); }); | cs |
shared 폴더에 파일 넣기
shared 폴더는 모든 슬라이드에서 공통적으로 사용하는 소스나 파일들을 모아두는 곳이다.
jqery, veeva-library, hammer 등의 파일과, 공통 css인 core.css, 그리고 공통의 이미지들을 넣어주는 폴더가 있다.
따라서 만들어 줄 것은 만들어주고, 복사할 것은 복사하면 된다.
shell.cp("-Rf", "복사할 파일", "복사할 위치");를 사용하면 하위 디렉토리에 있는 모든 파일을 복사할 수 있고
shell.cp("-Rf", "[복사할 파일1, 복사할 파일 2]", "복사할 위치");같이 복사할 파일을 배열로도 넣을 수 있다.
1 2 3 4 5 6 7 8 9 10 11 12 13 14 15 16 17 | gulp.task("cpShared", () => { shell.cp("-Rf", `${copyDir}/js`, `${presentationDir}/shared`); let data = makeCoreJS(); shell.cd(`${presentationDir}/shared/js`); fs.writeFile("core.js", data, "utf8", err => {}); shell.cd(`${presentationDir}/shared/`); fs.writeFile("index.html", "<html>shared</html>", "utf8", err => {}); shell.mkdir("media"); shell.cd(`${presentationDir}/shared/media/`); shell.mkdir("images"); shell.cp( "-Rf", [`${copyDir}/css`, `${copyDir}/media/*`, `${copyDir}/thumb.png`], `${presentationDir}/shared` ); }); | cs |
sh 파일 만들기
sh파일 만드는 것도 fs.writeFile()을 사용하면 만들 수 있다.
기존 sh 파일을 그대로 불러와서 디렉토리만 넣어주면 되는 간단한 코드였다.
1 2 3 4 5 6 7 8 9 10 11 12 13 14 15 16 17 18 19 20 | const shThumb = () => { let shThumbFile = `# Directory containing _MAIN and _ADD presentation folders # 처음 'sh gen-thumb.sh'를 실행하는 거라면, 'brew install imagemagick' 설치 PROJECT=~/Projects/${ProductName}/${DirectoryOfPresentation}/${presentation} SCN_DIR=~/Projects/${ProductName}/${DirectoryOfPresentation}/screenshots # Generate thumb files for each slide in the presentation cd $PROJECT for slide in $(ls); do if [ $slide != "shared" ]; then cd $slide convert $SCN_DIR/$slide.jpg -thumbnail 150x200! -strip thumb.png cd .. fi done`; return shThumbFile; }; | cs |
thumb.sh 파일 만들기
1 2 3 4 5 6 7 8 9 10 11 12 13 14 15 16 17 18 19 20 21 22 23 24 25 26 27 28 29 30 31 32 33 | const shZip = () => { const shZipFile = `#!/bin/bash # Directory for generated zip files OUT_DIR=~/Projects/${ProductName}/${DirectoryOfPresentation}/dist # Directry containing _MAIN and _ADD presentation folders PROJECT=~/Projects/${ProductName}/${DirectoryOfPresentation}/${presentation} # Directory to common shared SHARED_DIR=~/Projects/${ProductName}/${DirectoryOfPresentation}/${presentation}/shared # Shared file name specific to the project SHARED=${presentation}_Shared # Clean up old files inside output directory cd $OUT_DIR rm -r * # Generate zip file for shared resources cd $SHARED_DIR zip -r $OUT_DIR/$SHARED.zip . -x .DS_Store # Generate zip files for each slide in the presentation cd $PROJECT for slide in $(ls); do cd $slide zip -r $OUT_DIR/$slide.zip . -x .DS_Store cd .. done `; return shZipFile; }; | cs |
1 2 3 4 5 6 7 | gulp.task("makeShfile", () => { shell.cd(distDir); let shZipFile = shZip(); let shThumbFile = shThumb(); fs.writeFile("gen-zip.sh", shZipFile, "utf8", err => {}); fs.writeFile("gen-thumb.sh", shThumbFile, "utf8", err => {}); }); | cs |
기타 파일 만들어주기
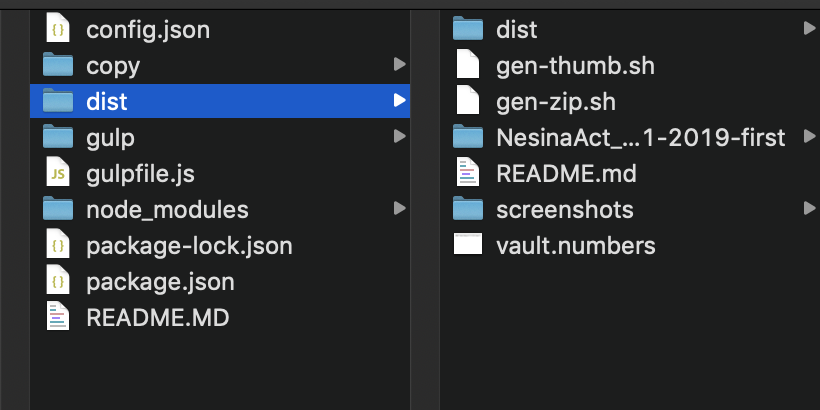
기타 파일은 README, .gitignore 등이 있고 screenshots과 dist 폴더를 만들어 주어야 한다.
1 2 3 4 5 6 7 8 9 10 11 12 | gulp.task("makeEtc", () => { shell.cd(distDir); shell.mkdir(["screenshots", "dist"]); fs.writeFile("README.md", `${presentation}`, "utf8", err => {}); shell.cp( "-Rf", [`${copyDir}/vault.numbers`, `${copyDir}/.gitignore`], `${distDir}` ); shell.cd(".."); }); | cs |
최종 gulp build 명령어
gulp.task("build", [
  "makeDir",
  "makeSubDir",
  "putHtml",
  "cpShared",
  "makeShfile",
  "makeEtc"
]);
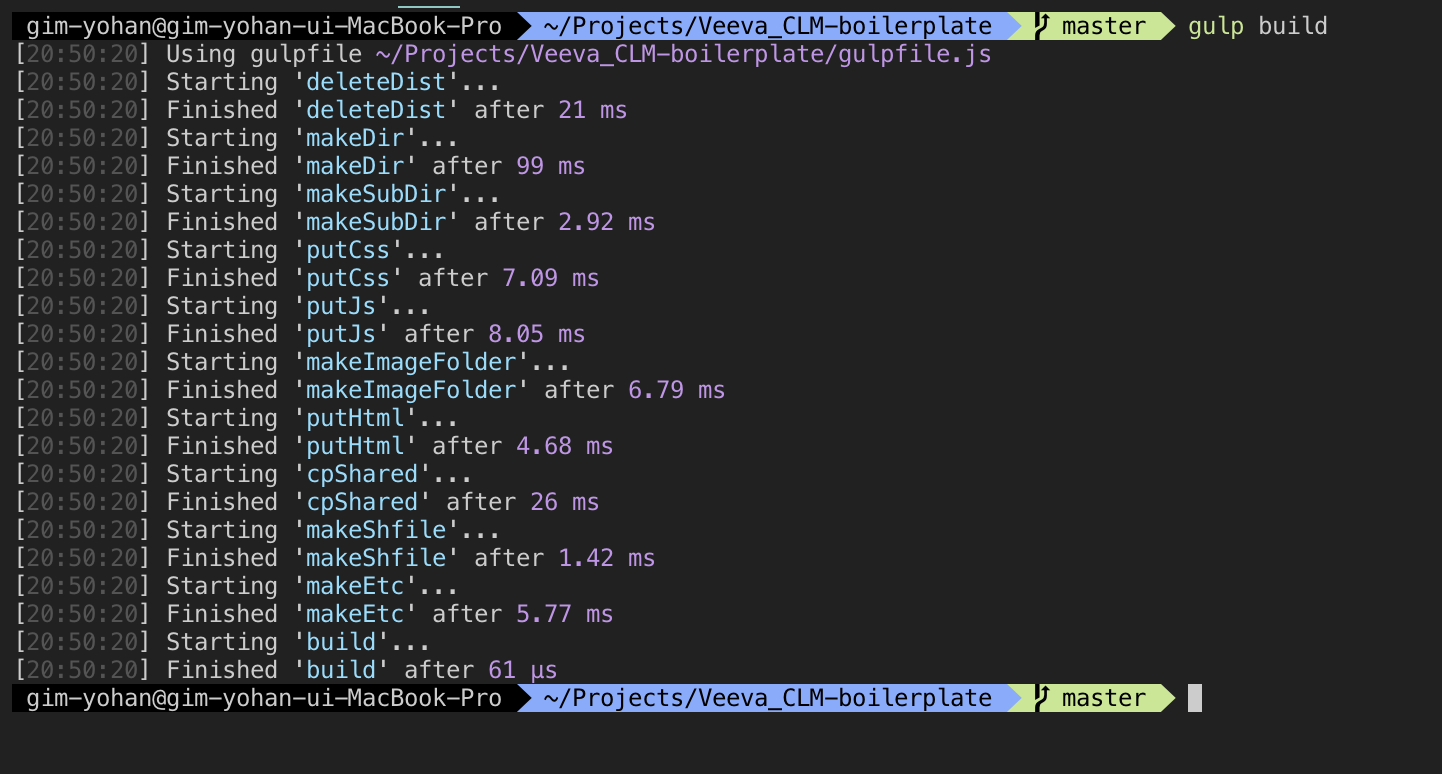
이제 gulp build 명령어를 치면 좌라락~ 하고 아름답게 기본 CLM 프로젝트를 만들어준다.

